
Why we work this way
Most of a roof is out of sight from the ground. You should not have to take anyone's word for what is up there.
So every step of our process leaves you with something you can look at and keep. You get photos, a written quote and a written warranty.
Step 1: Free photo inspection and report
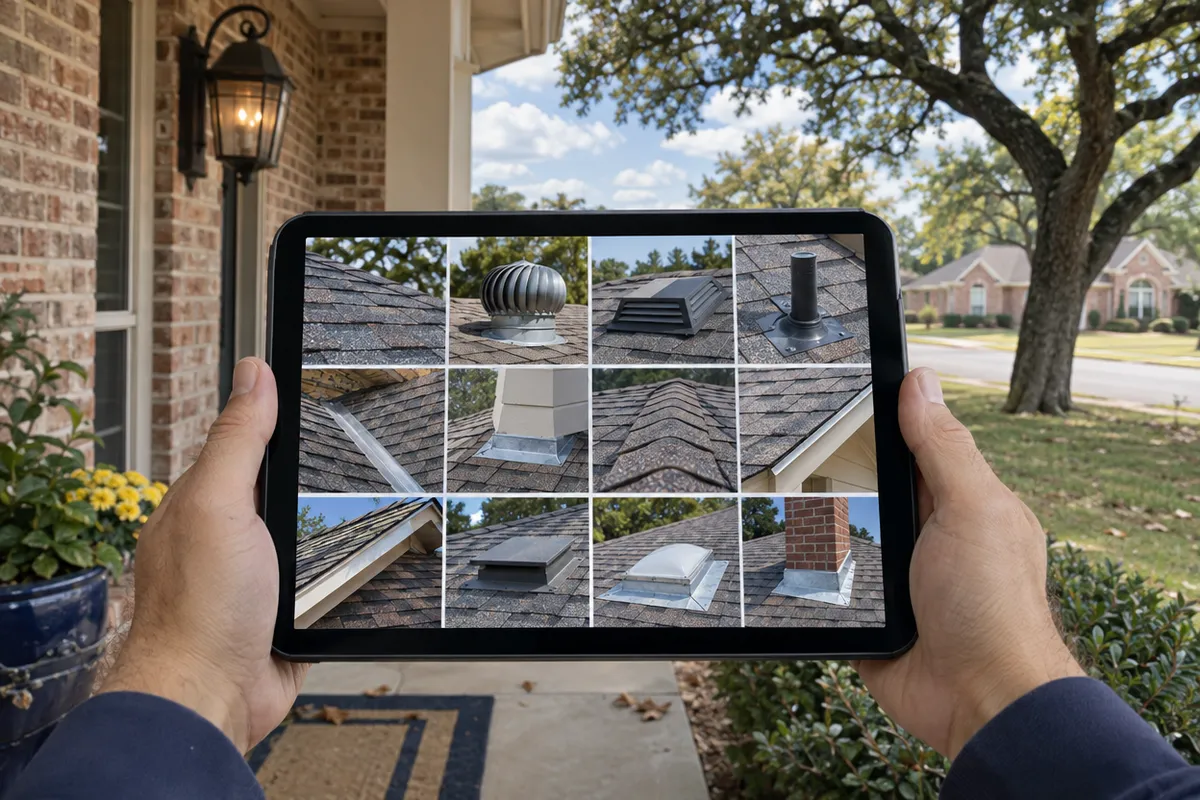
A sales rep from our team comes to your home and inspects the whole roof. We photograph every slope, plus flashing, vents, pipe boots, ridge caps and any soft decking. On some roofs we use a drone to get the photos.
Every inspection ends with a photo report you keep. We show you what we found before we recommend anything. The report covers the good and the bad, not only the problems.
The inspection costs nothing. The report is yours whether or not you hire us.
Here is what a report looks like. The address in the sample is fictional.
Photo report
Roof inspection report
Sample. Fictional address.
- Property
- 100 Example Lane, Sampleville, TX 75000
- Roof
- Architectural shingle, 6/12 pitch, 32 squares
- Photos taken
- 48, every slope
- Summary
- 3 good, 1 watch, 2 repair
What we recommend: replace the cracked pipe boot and re-seal two ridge caps now. The front slope shows storm damage. You decide whether to file a claim. Your insurer decides coverage.
If we cannot show you photo evidence for a recommended repair, that line comes off the quote.
Step 2: Written line-item quote
If the photos show work is needed, we write a quote. Your quote lists every material and labor line in writing. No lump sums.
Each recommended item ties back to a photo from your report. That is our one guarantee, and here is the exact wording.
Your written quote is price-locked for 30 days from the date on it. That gives you time to compare bids and ask questions. You can see the format on our sample quote page.
The price lock applies to self-pay quotes. If insurance is paying, you file the claim. Your insurer decides coverage and the amount, and the work follows the scope your insurer approves.
Step 3: Install with dated stage photos
No payment is due until materials are delivered and work begins.
A subcontract crew installs your roof. Victor, the owner, is accountable for the job from start to finish. We pull the roofing permit wherever your city requires one.
You get dated photos of tear-off, decking, underlayment, flashing and final cleanup. Here is why each stage matters:
- Tear-off. The old shingles come off so the wood deck underneath can be checked.
- Decking. We photograph the bare deck. Rotted sheets are photographed before we replace them, and priced per sheet.
- Underlayment. This layer sits between the deck and the shingles. Once shingles go on, you never see it again.
- Flashing. Flashing seals the joints at walls, chimneys, valleys and vents.
- Final cleanup. We photograph the finished roof and the cleaned-up yard.
These layers are hidden once the roof is done. The photos are your record of what was installed under the shingles.
Step 4: Final walkthrough and written warranty
When the work is done, we walk the job with you. We go through the stage photos together, and you can ask about anything you see.
Then you get the warranty in writing. The wording is simple. Every full roof replacement comes with a 10-year workmanship warranty, in writing. If a leak comes from how we installed the roof, we repair it at no charge. It transfers once to the next owner. Storm damage and work by other trades are not covered.
Your shingles also carry a product warranty from the shingle manufacturer. That warranty is separate from ours. You can read more on our warranty page.
What you keep at the end
After a full replacement, you hold four things:
- The photo inspection report
- The written line-item quote
- The dated install photos, from tear-off to cleanup
- The written 10-year workmanship warranty
Keep them with your home records. They are useful if you sell the house or if a storm hits later.
Start with step 1
The first step is the photo inspection. It takes one visit, and you keep the report either way.